

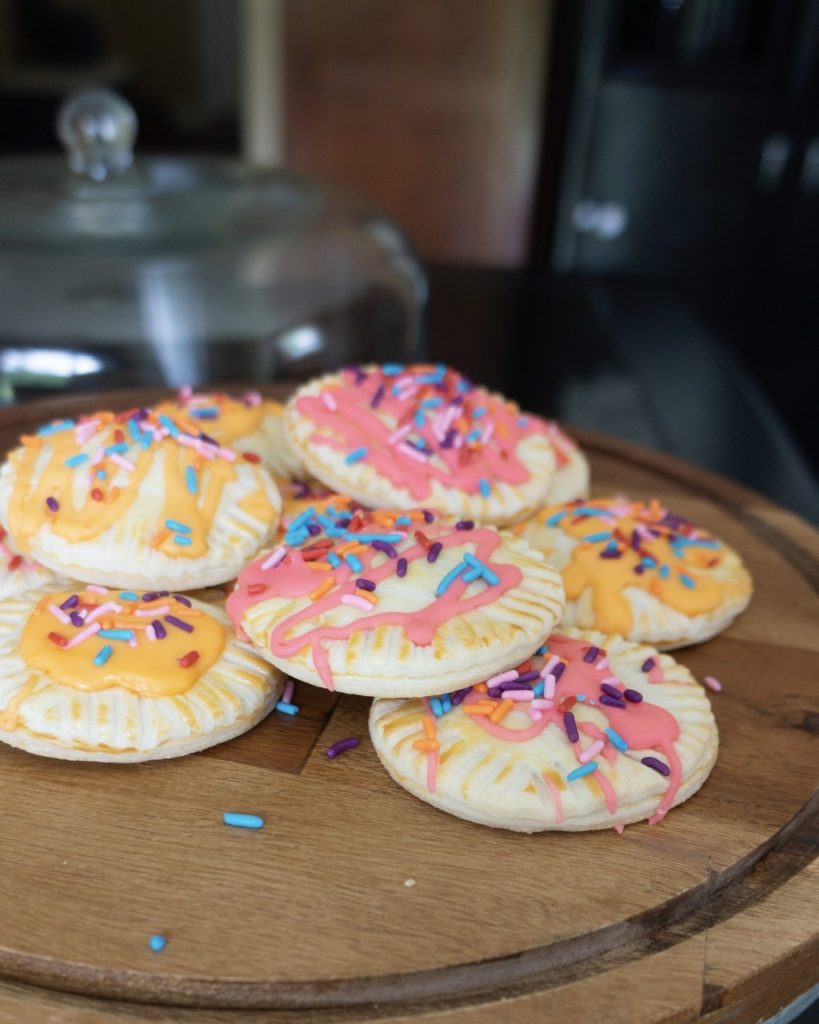
I made mini hand pies with my daughters and I can’t believe how fantastic they came out! We used refrigerated pie dough so they were ridiculously easy and I even tried making royal icing for the first time, which was not as scary as I expected!
 To make these hand pies, start by preheating the oven to 350° F. I lined a baking sheet with a silicone mat to use as a working space, but parchment paper or a lightly floured surface are fine, too.
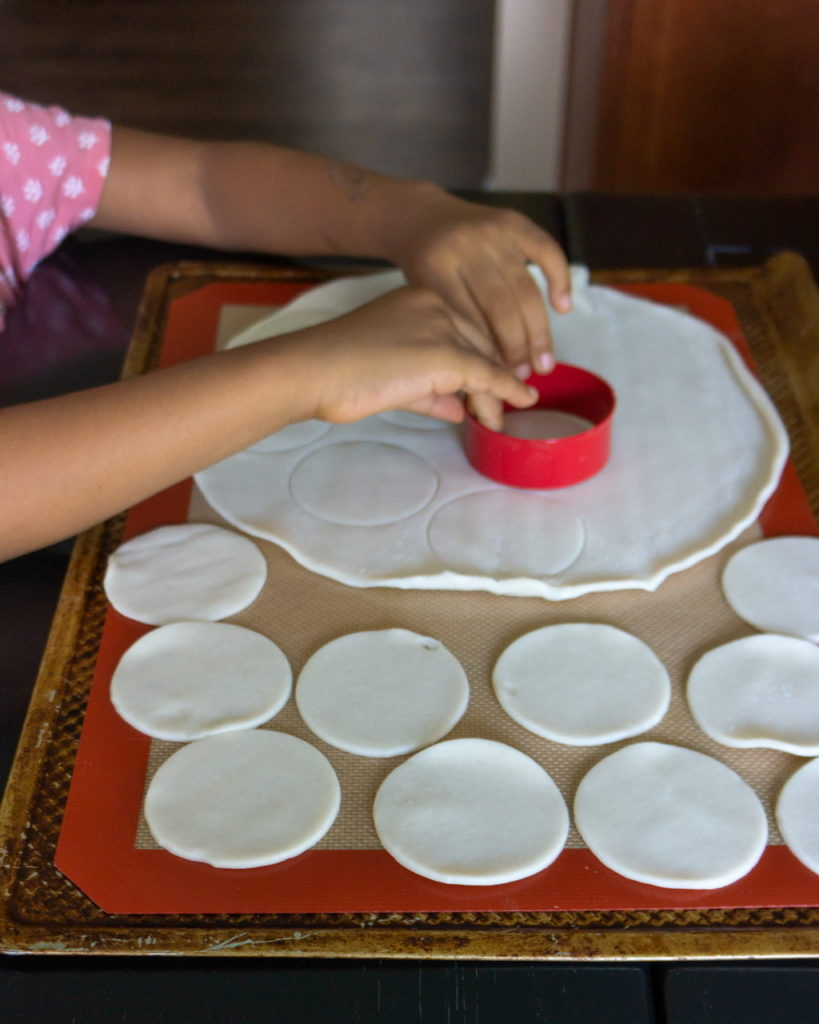
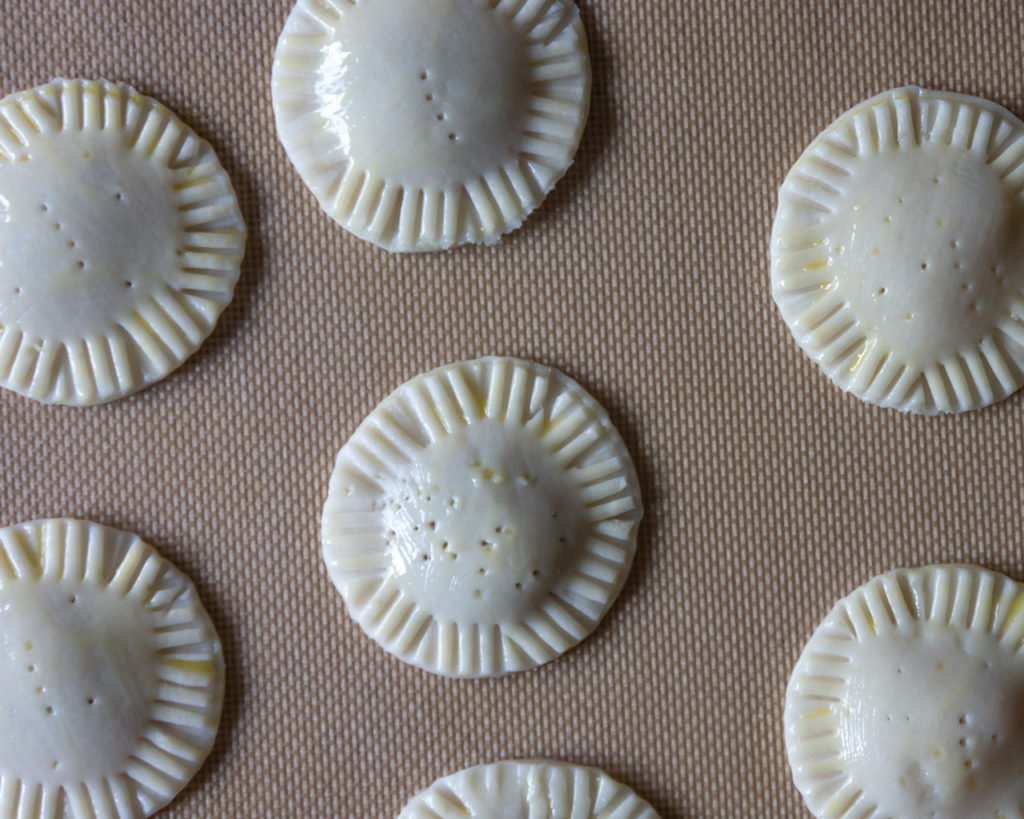
Roll out the pie dough so that it’s flat and use a circle cookie cutter to carve out 20 circles (10 from each crust). Then, with a fork or toothpick, poke a few holes in 10 of the dough circles. These will be the top pieces and the holes allow for some ventilation while they bake. The remaining 10 circles will be the bottom.
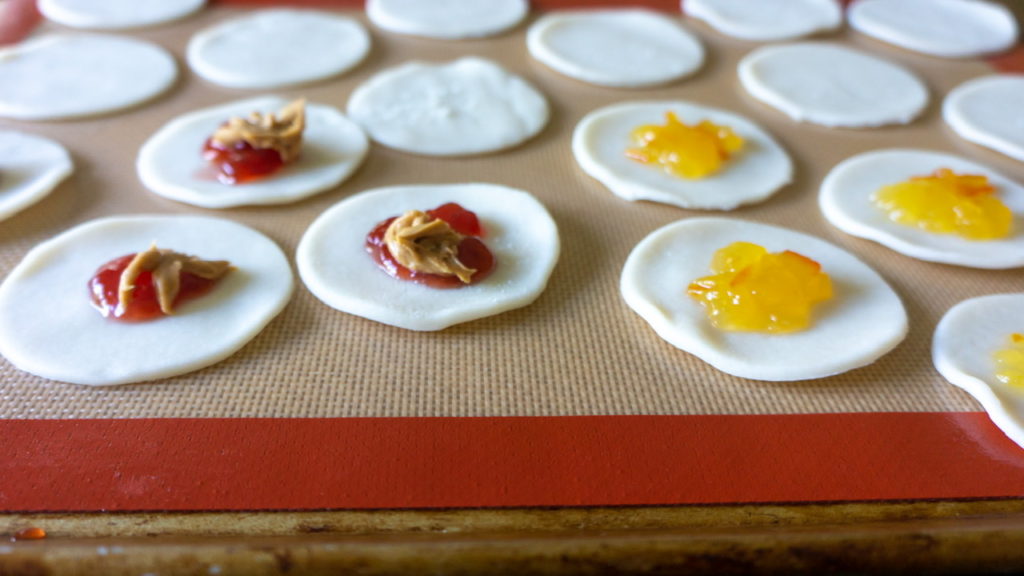
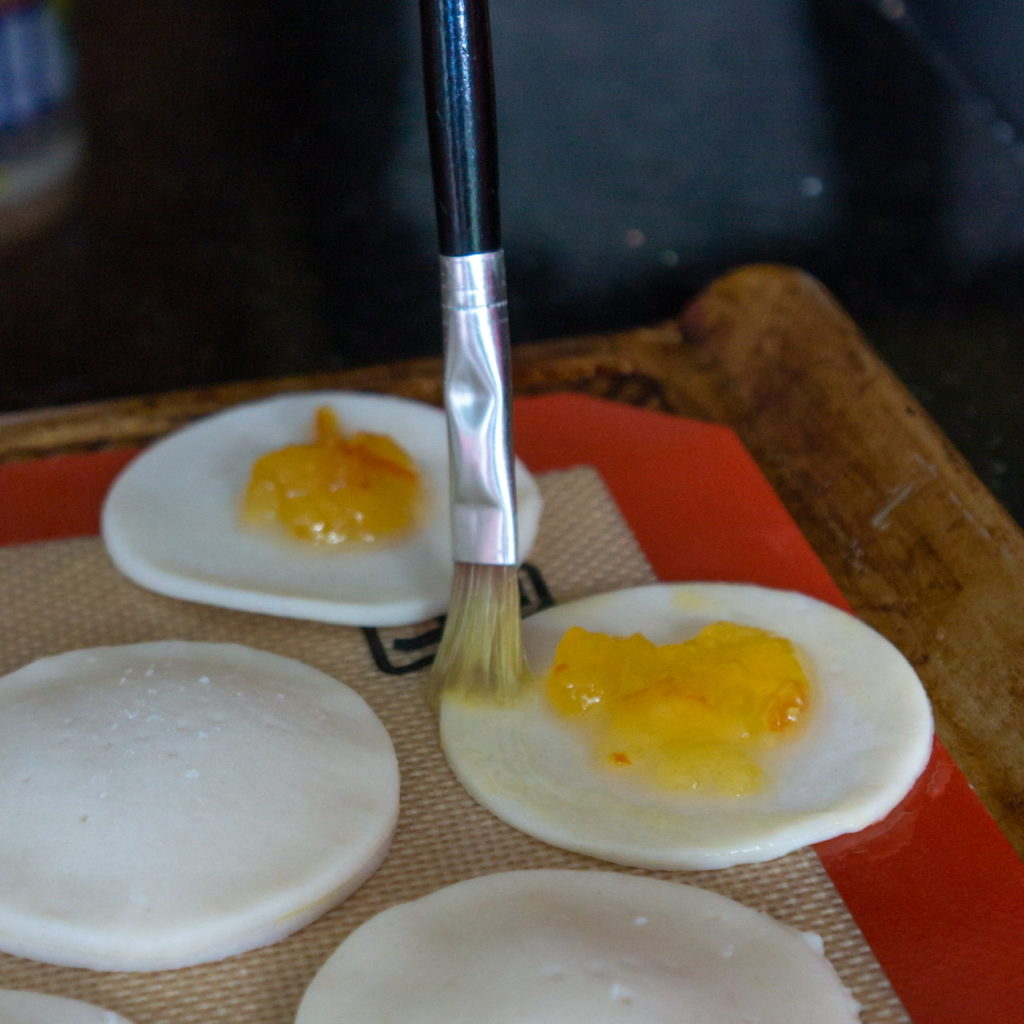
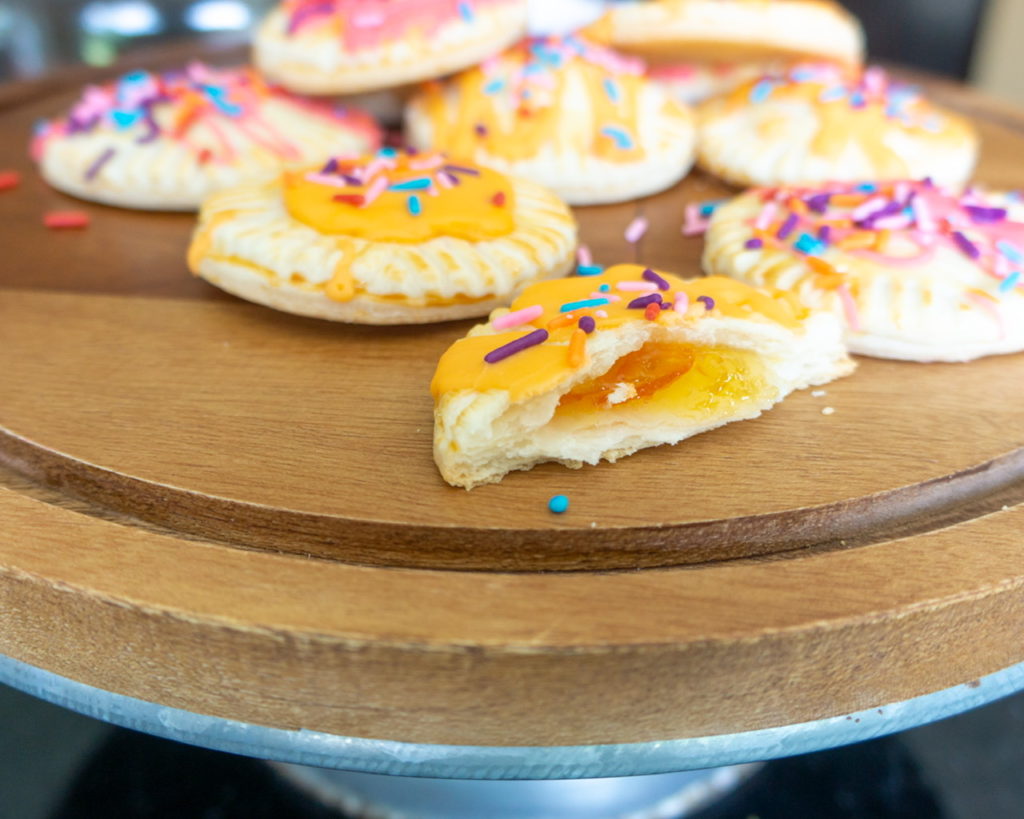
Belly wanted hers to be PB&J so we dropped half a teaspoon of strawberry jelly and half a teaspoon of peanut butter in the center of 5 circles. Goose wanted hers to be orange so we dropped a teaspoon of orange marmalade in the rest. As long as it isn’t too liquidy, you can use any filling you like!
Using a paintbrush or your finger, lightly brush egg yolk around the outside of the bottom circles. This will help the two pieces of dough stick together.
Place the top pieces of dough over the bottom and use a fork to gently crimp the edges together. Brush the tops of the dough with the remaining egg yolk.
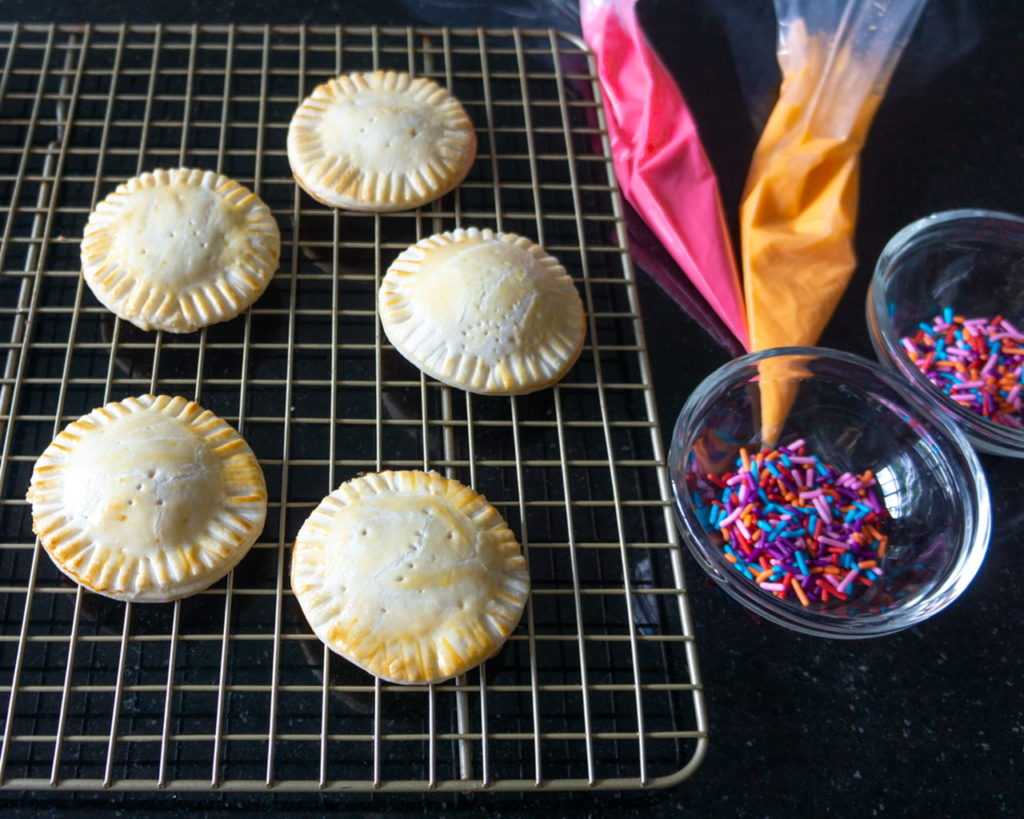
Bake the hand pies for 8-10 minutes. The dough will be firm and golden. If you want a toastier, crispier crust, leave them in the oven a little longer.
Once your hand pies are finished baking and out of the oven, let them cool completely before decorating.
To make the royal icing, I whipped one egg white until it was foamy. Then I mixed in two cups of powdered sugar until it was all creamy. That’s it! Just try it, you’ll be amazed!
I prefer royal icing to glaze because it dries much quicker and makes less of a mess.
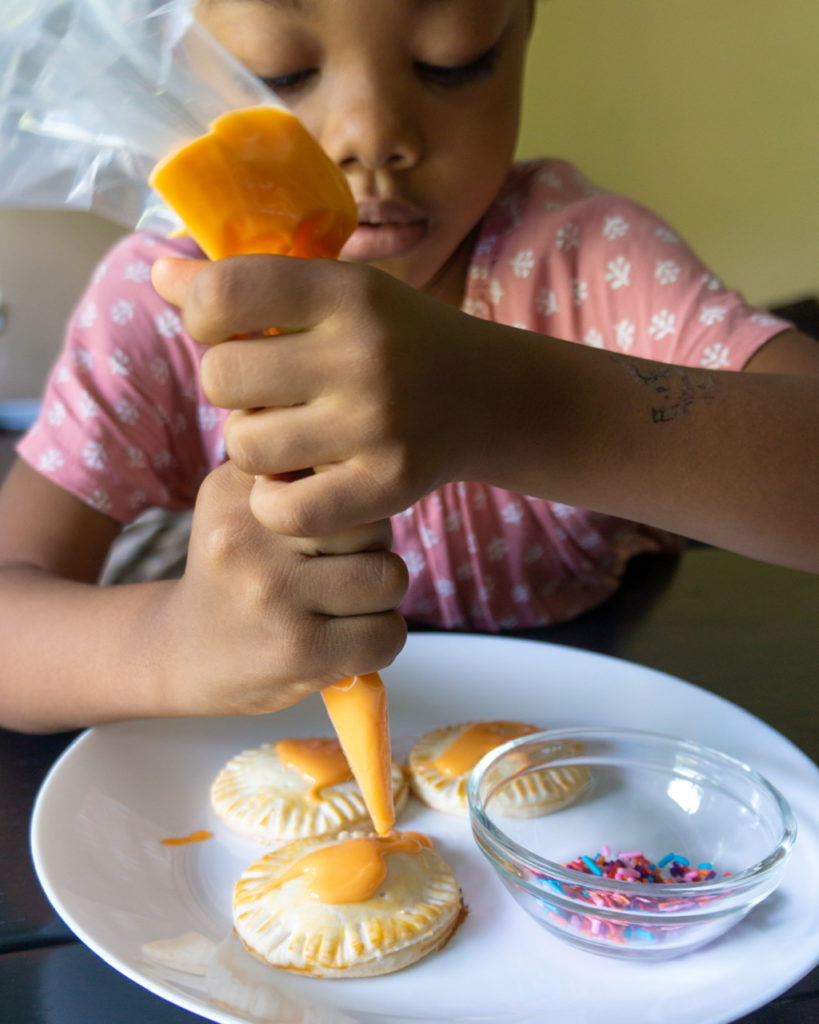
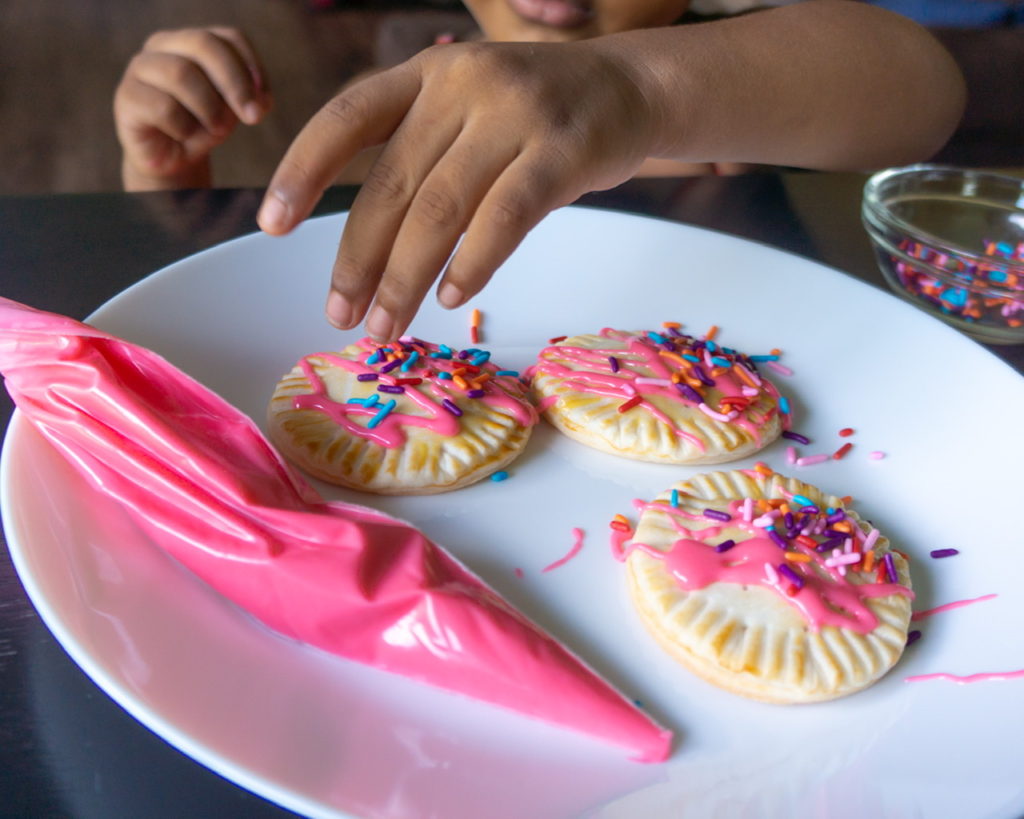
I split the icing into two batches and dyed one pink for the peanut butter and jelly pies and the other orange for the orange pies. Piping bags were the easiest way for my kids to drizzle the royal icing and then I gave them colorful sprinkles to go crazy with.
I must confess that the total time from start to finish was a bit longer than I anticipated, but it was because the kids were incredibly involved and we took it very slowly.
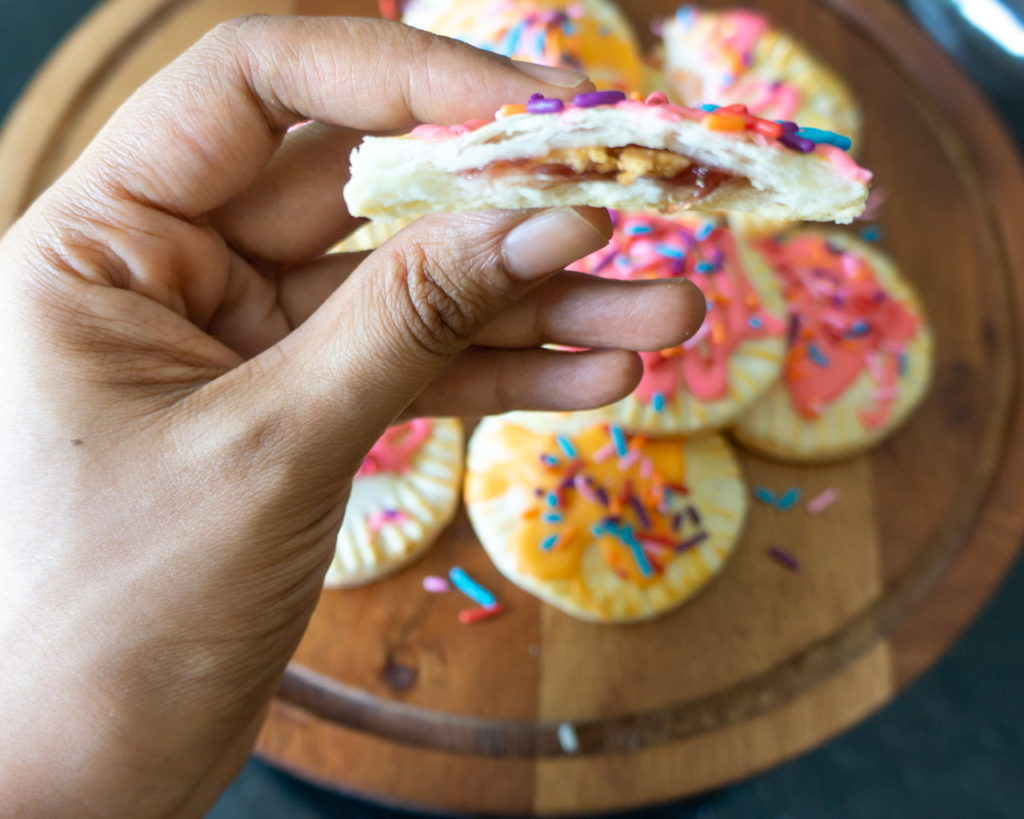
Both girls thought that decorating was super fun and the finished hand pies were so cute! They’re also a perfect little portion and the flavors we chose were heavenly!
 We’re excited to make mini hand pies again! What flavors should we try for our next filling?
If you love sweet treats, try our recipes for mini lemon cupcakes and 3-ingredient brownies!
Talk to you soon!


| Servings |
hand pies
|
- 2 refrigerated pie crusts
- 2-3 tsp peanut butter
- 2-3 tsp strawberry jelly
- 5 tsp orange marmalade
- 1 egg yolk stirred
- 1/4 cup sprinkles
- 1 egg white
- 2 cups powdered sugar
- food coloring
Ingredients
Mini Hand Pies
Royal Icing
|
|
- Preheat the oven to 350° F. Line a baking sheet with a baking mat or parchment paper.
- Roll out the refrigerated pie dough and use a cookie cutter to carve out 20 circles (10 from each crust).
- Use a fork or toothpick to poke a few holes in 10 of the dough circles. These will be the top pieces.
- The remaining 10 circles will be the bottom. Drop a teaspoon of orange marmalade in the center of 5 circles. In the other 5, drop half a teaspoon of strawberry jelly and half a teaspoon of peanut butter.
- Using a paintbrush or your finger, lightly brush egg yolk around the outside of the bottom circles. This will help the two pieces stick together.
- Place the top pieces of dough over the bottom and use a fork to gently crimp the edges together. Lightly brush the tops of the dough with the remaining egg yolk.
- Bake the hand pies for 8-10 minutes. If you want a toastier crust, leave them in the oven a little longer.
- Once your hand pies are finished baking and out of the oven, let them cool completely. Then, drizzle royal icing and sprinkles on the top.
- Enjoy!
- Whisk the egg white until it's foamy.
- Add the powdered sugar and whisk until the mixture is creamy.
- If you want to color your icing, add in a few drops and stir until you reach your desired hue.